The workflow
13 steps · 4 phases · Every step is a lesson
What running Etiscope looks like.
Every step of a real program, from Assess through Control and Validate to Track, in the order it happens and with the lesson that teaches it. The whole course is free to read.
Assess
From setting up your organisation to a checked capture with its full context, read back to the movement behind the score and shared with the right person.
Before you start
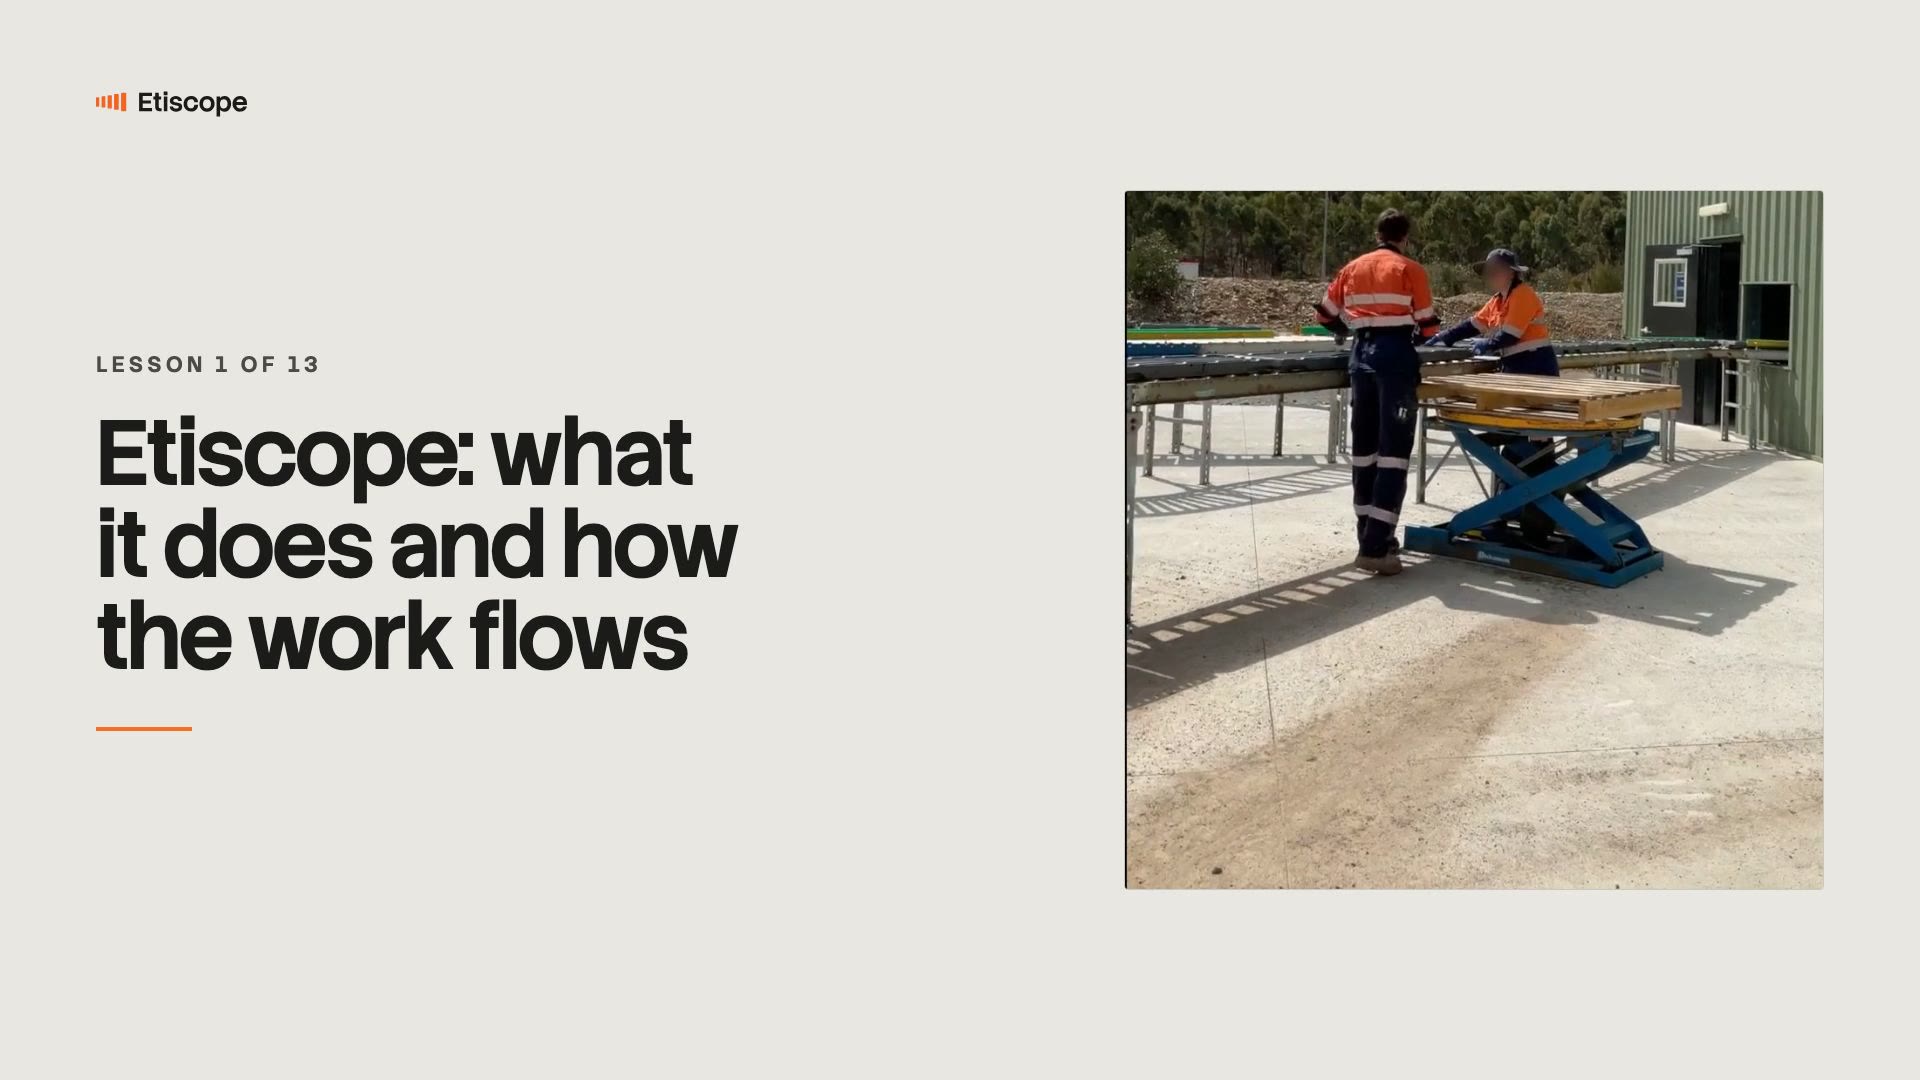
Etiscope: what it does and how the work flows
Get to know the three parts — sensors, app and portal — and how an assessment travels from the shop floor to a risk control. It also helps to know what Etiscope doesn't measure, because that shapes the judgements you'll make later on.
Lesson 1 →2 min video
Set up
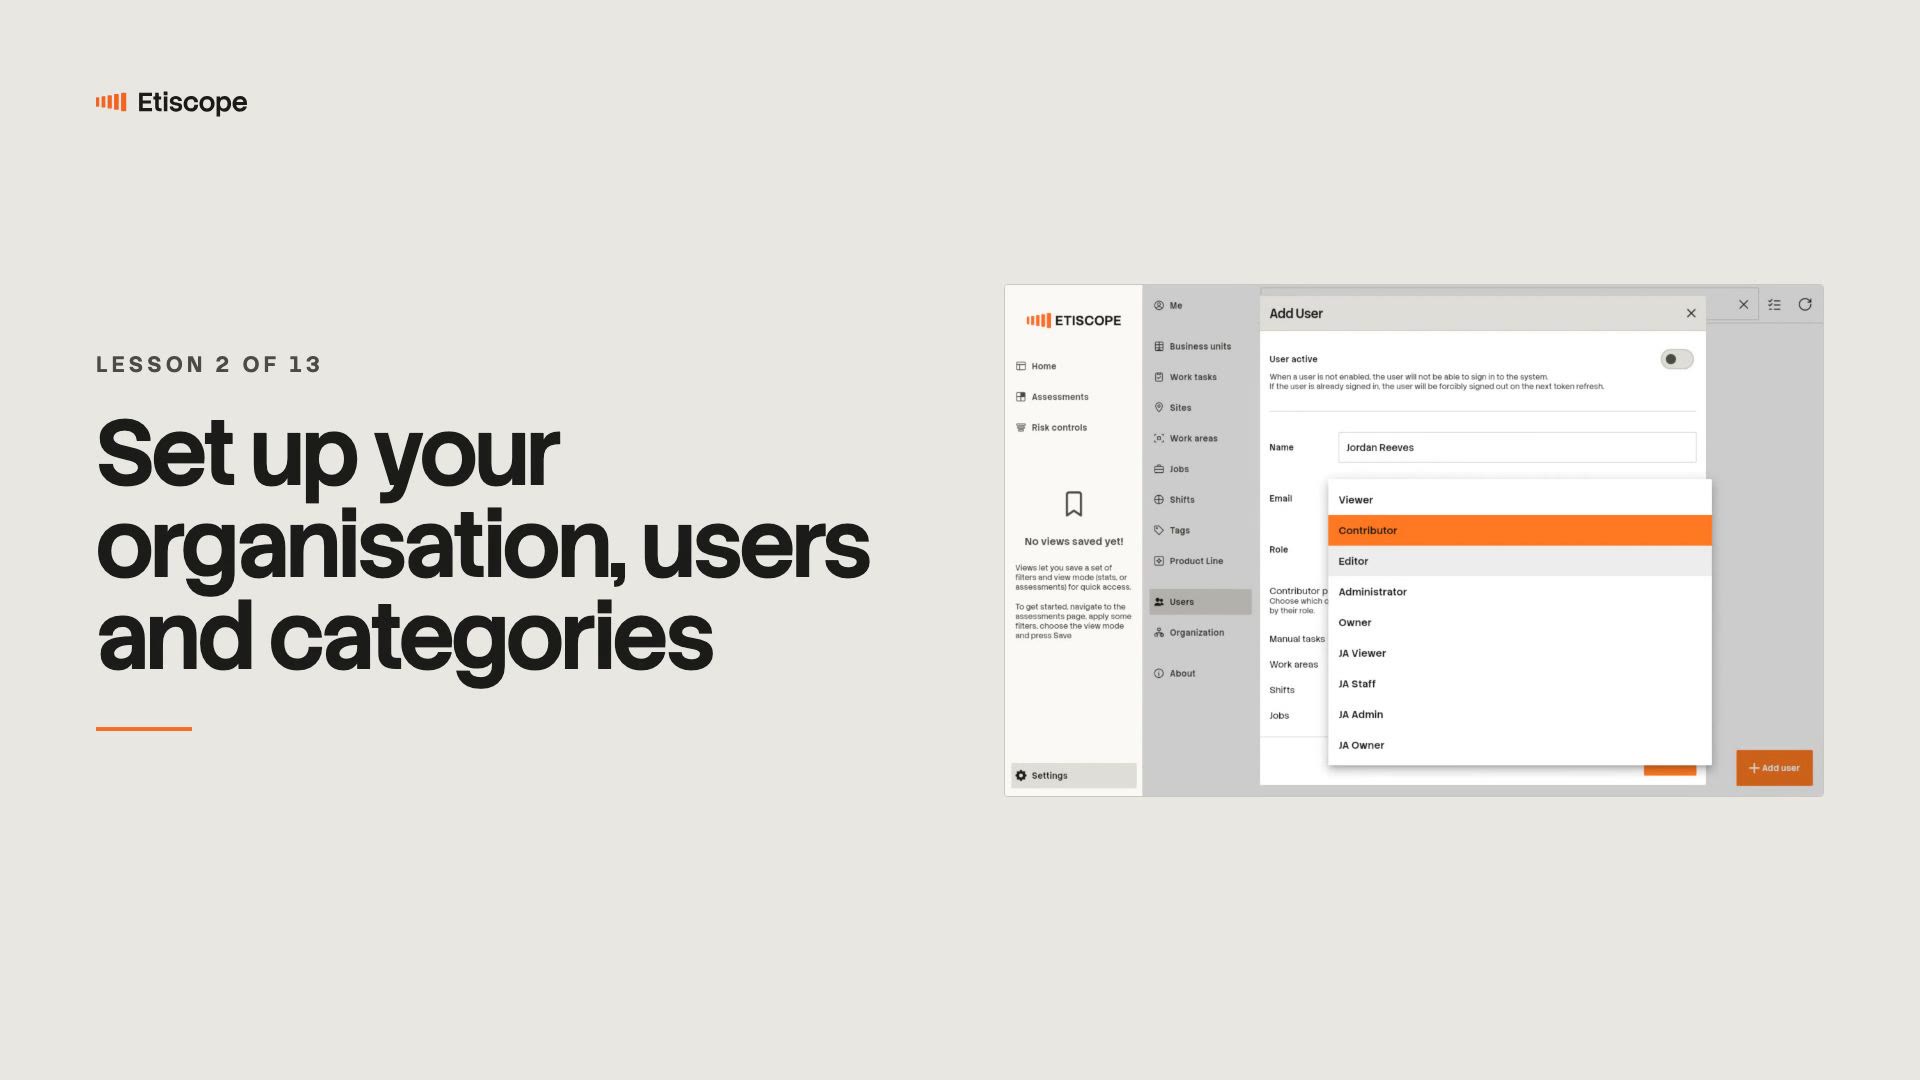
Set up your organisation, users and categories
Your administrator builds the category structure your team will file and find work against, adds the people who'll do the assessing, and settles two early decisions — user roles, and whether to record people at all. Both are much easier to settle now than to change later.
Lesson 2 →4 min video
Prepare
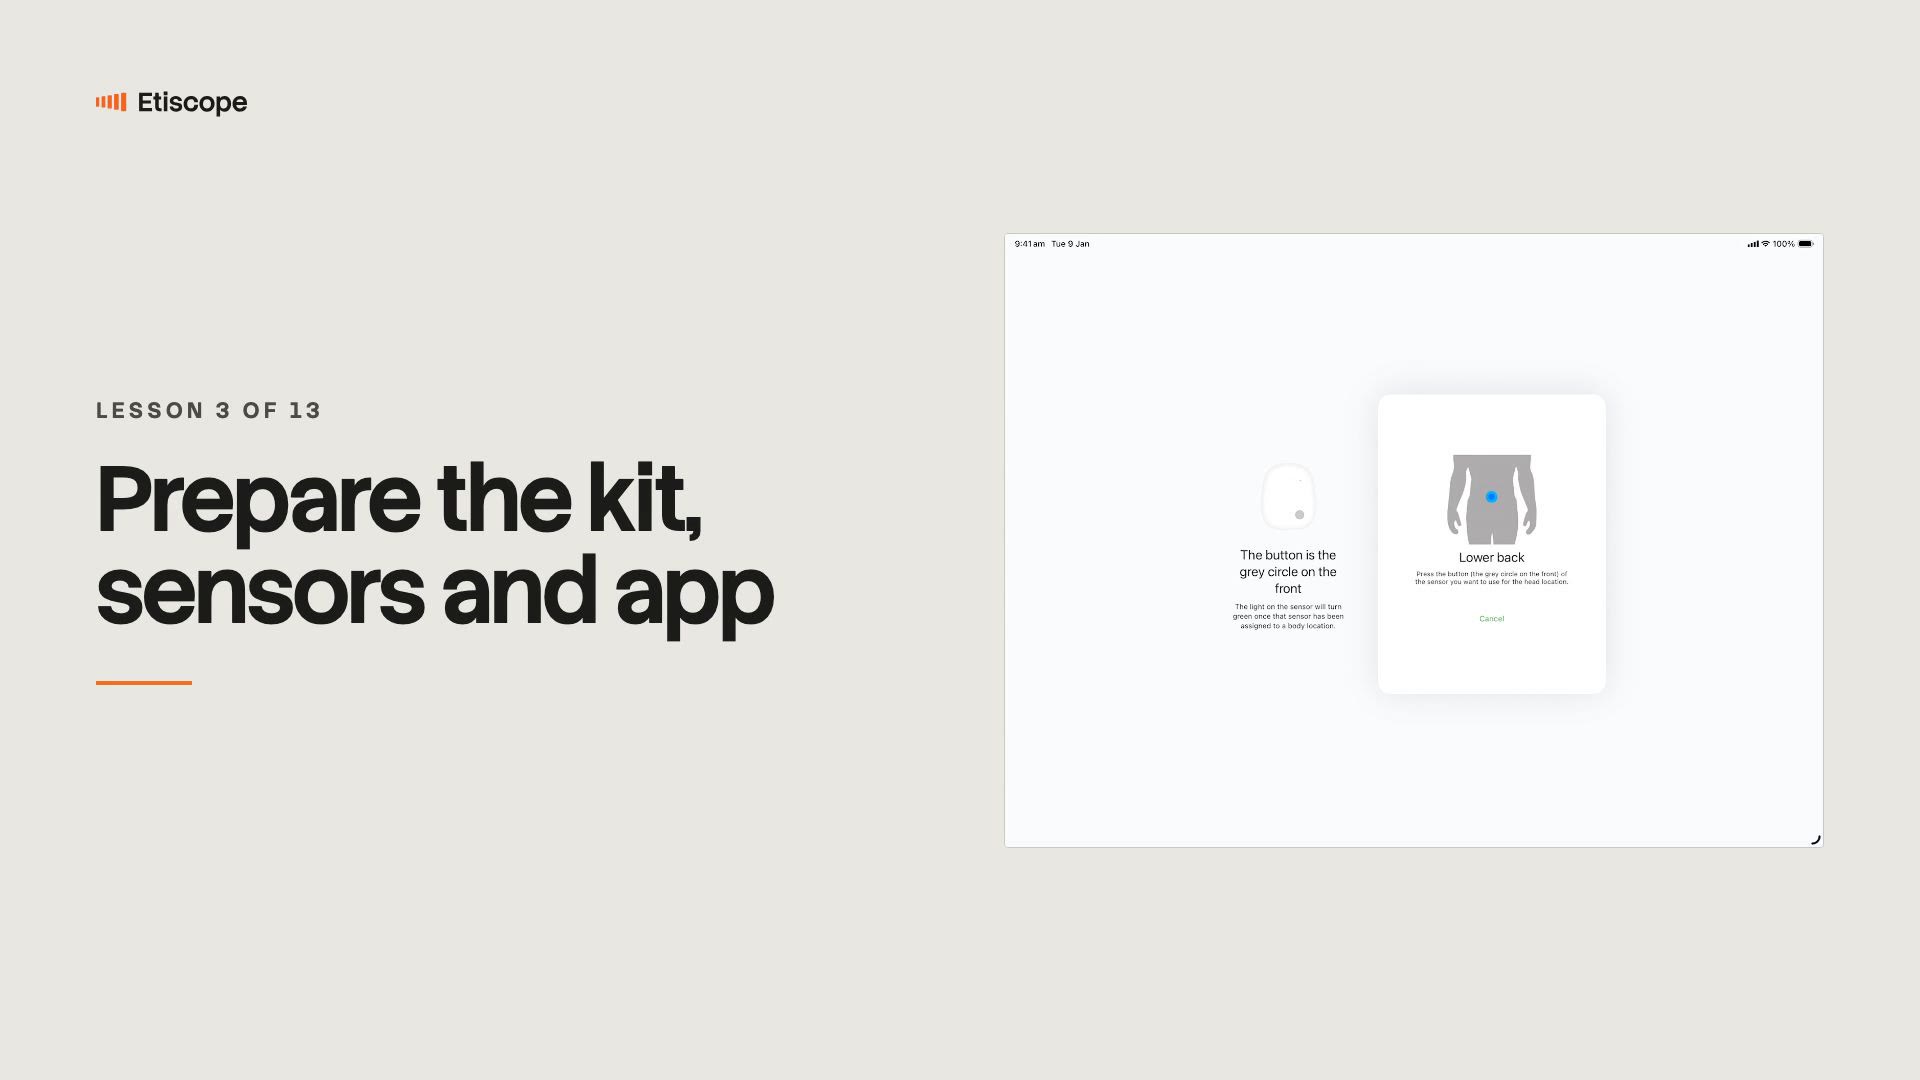
Prepare the kit, sensors and app
Get the kit ready and the worker fitted: assign each sensor to its body location once for the kit, then fit each strap snugly for every capture. A loose, twisted or misassigned sensor would score movement that never happened, so this step is worth taking slowly.
Lesson 3 →4 min video
Scope
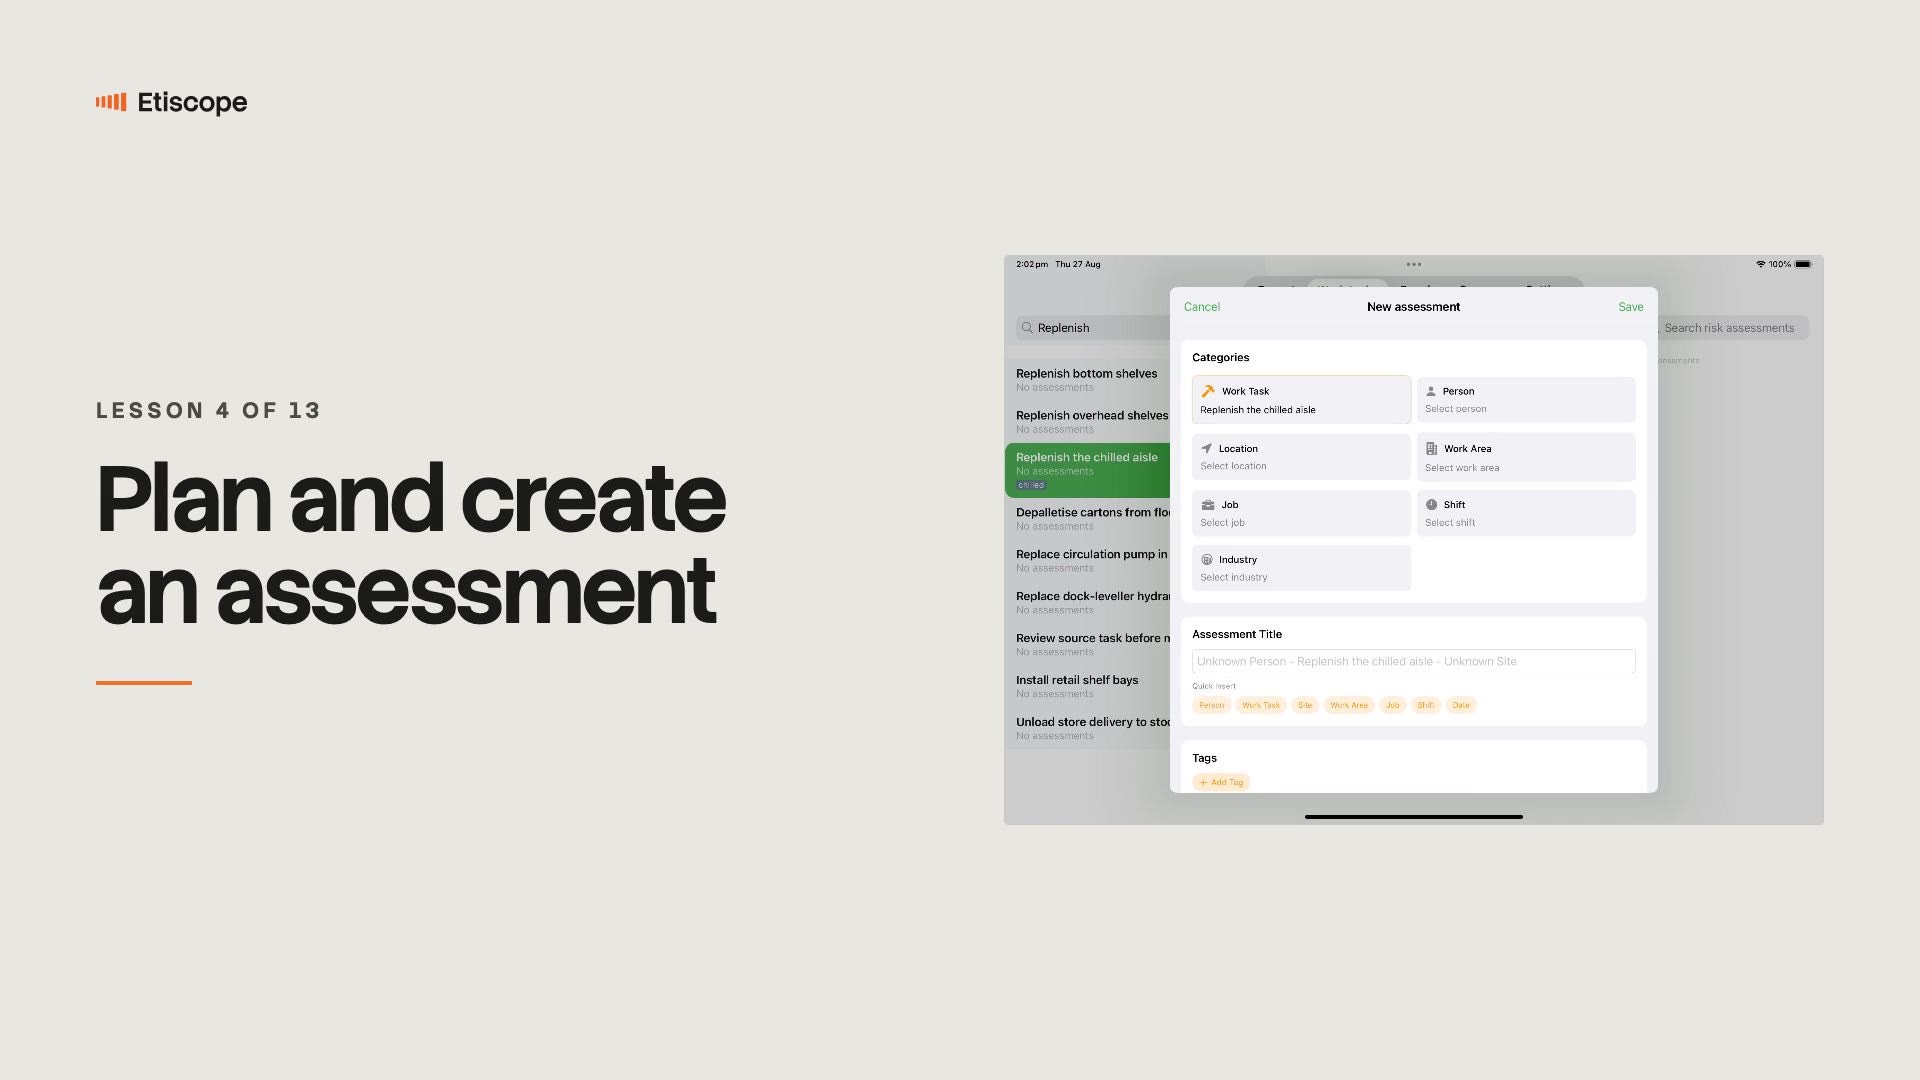
Plan and create an assessment
Decide what counts as one task and where it starts and stops, check for an existing assessment before creating a new one, and categorise it correctly. A clear boundary here means everything downstream measures the right thing.
Lesson 4 →3 min video
Capture
Capture an assessment
Pre-flight, normalise, record, stop and save — then review the capture while you're still on site, so anything that needs redoing can be redone before you leave.
Written lesson — video in productionContext
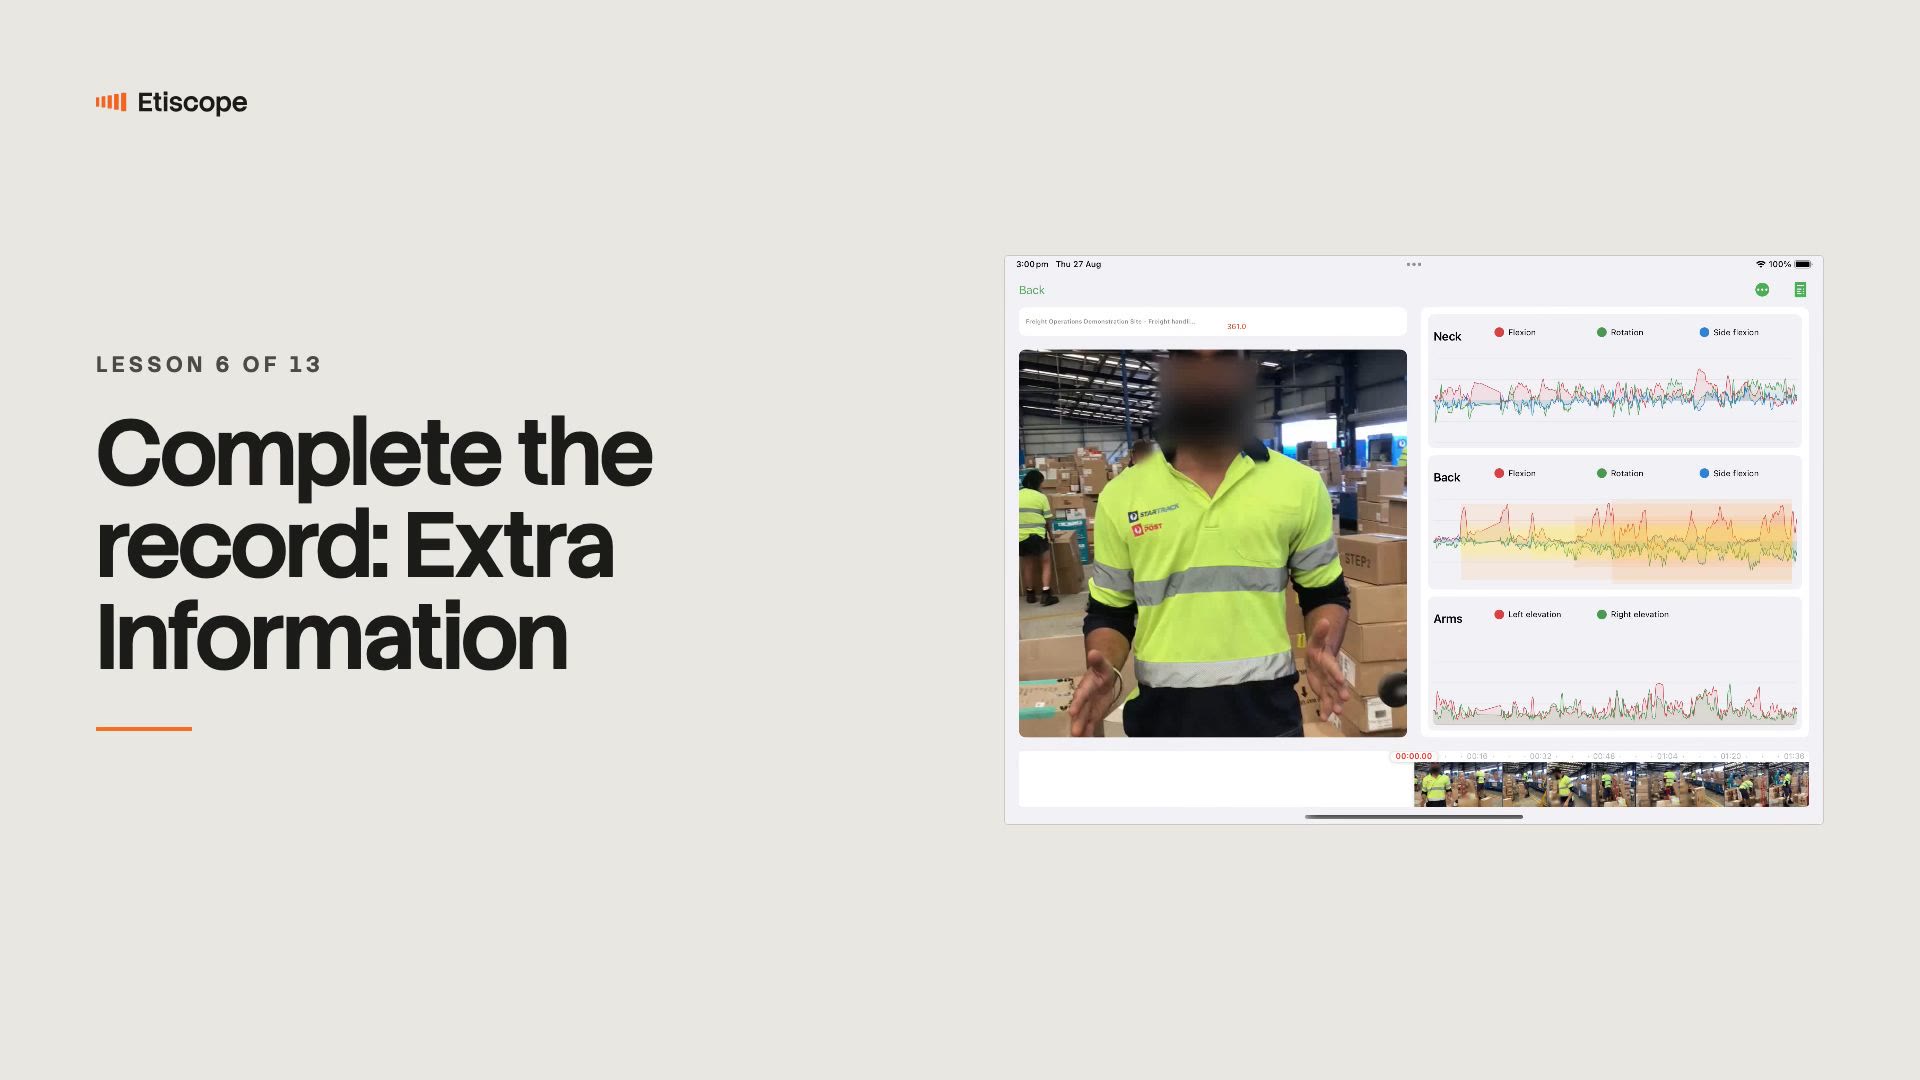
Complete the record: Extra Information
Talk with the worker about the task's real duration, repeats and perceived load, and decide when the detailed factors are worth the extra minutes. Every field is optional, and the more accurate the context, the more you can rely on the score.
Lesson 6 →3 min video
Read
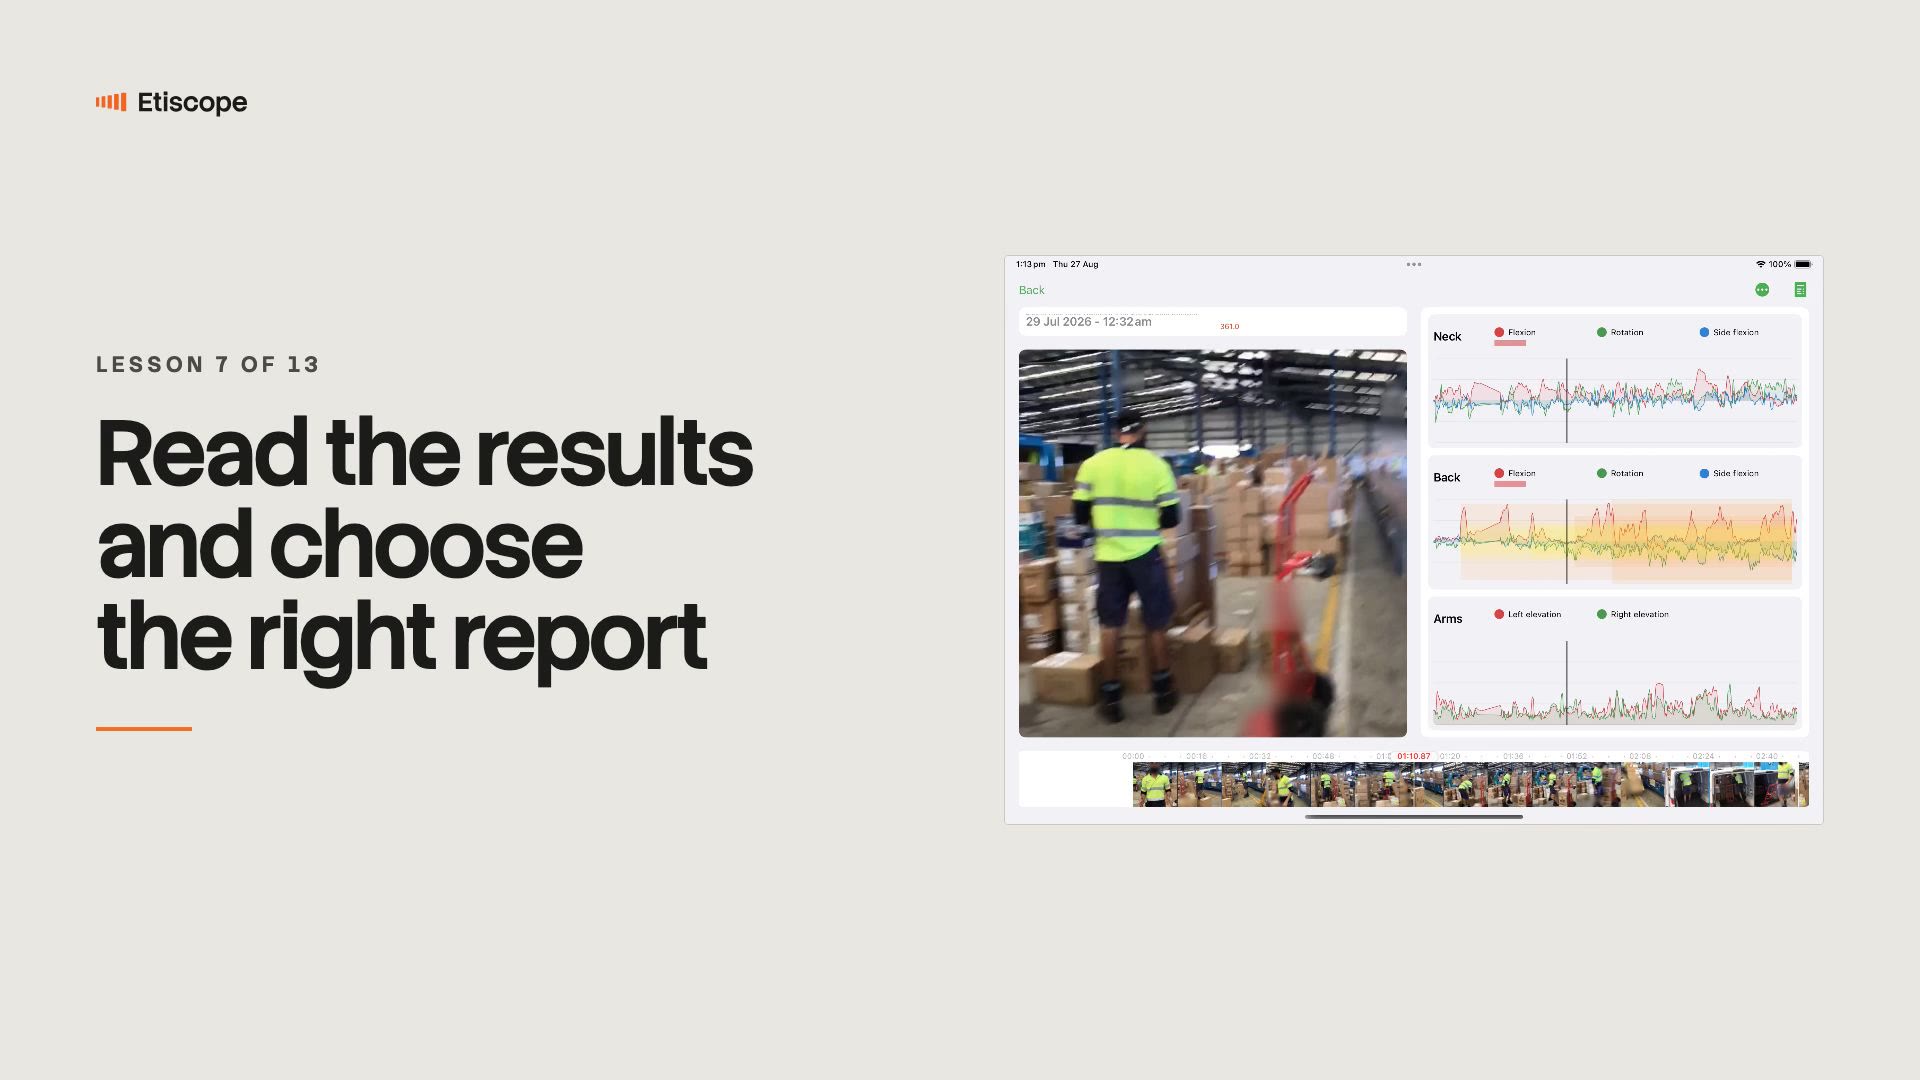
Read the results and choose the right report
Read the Consequential Risk Score and its grade together, scrub the video against the neck, back and arms graphs to find the movement behind a peak, and let the key contributing factors show you where to look first. Then choose the report that suits the person who'll read it.
Lesson 7 →3 min video
Review
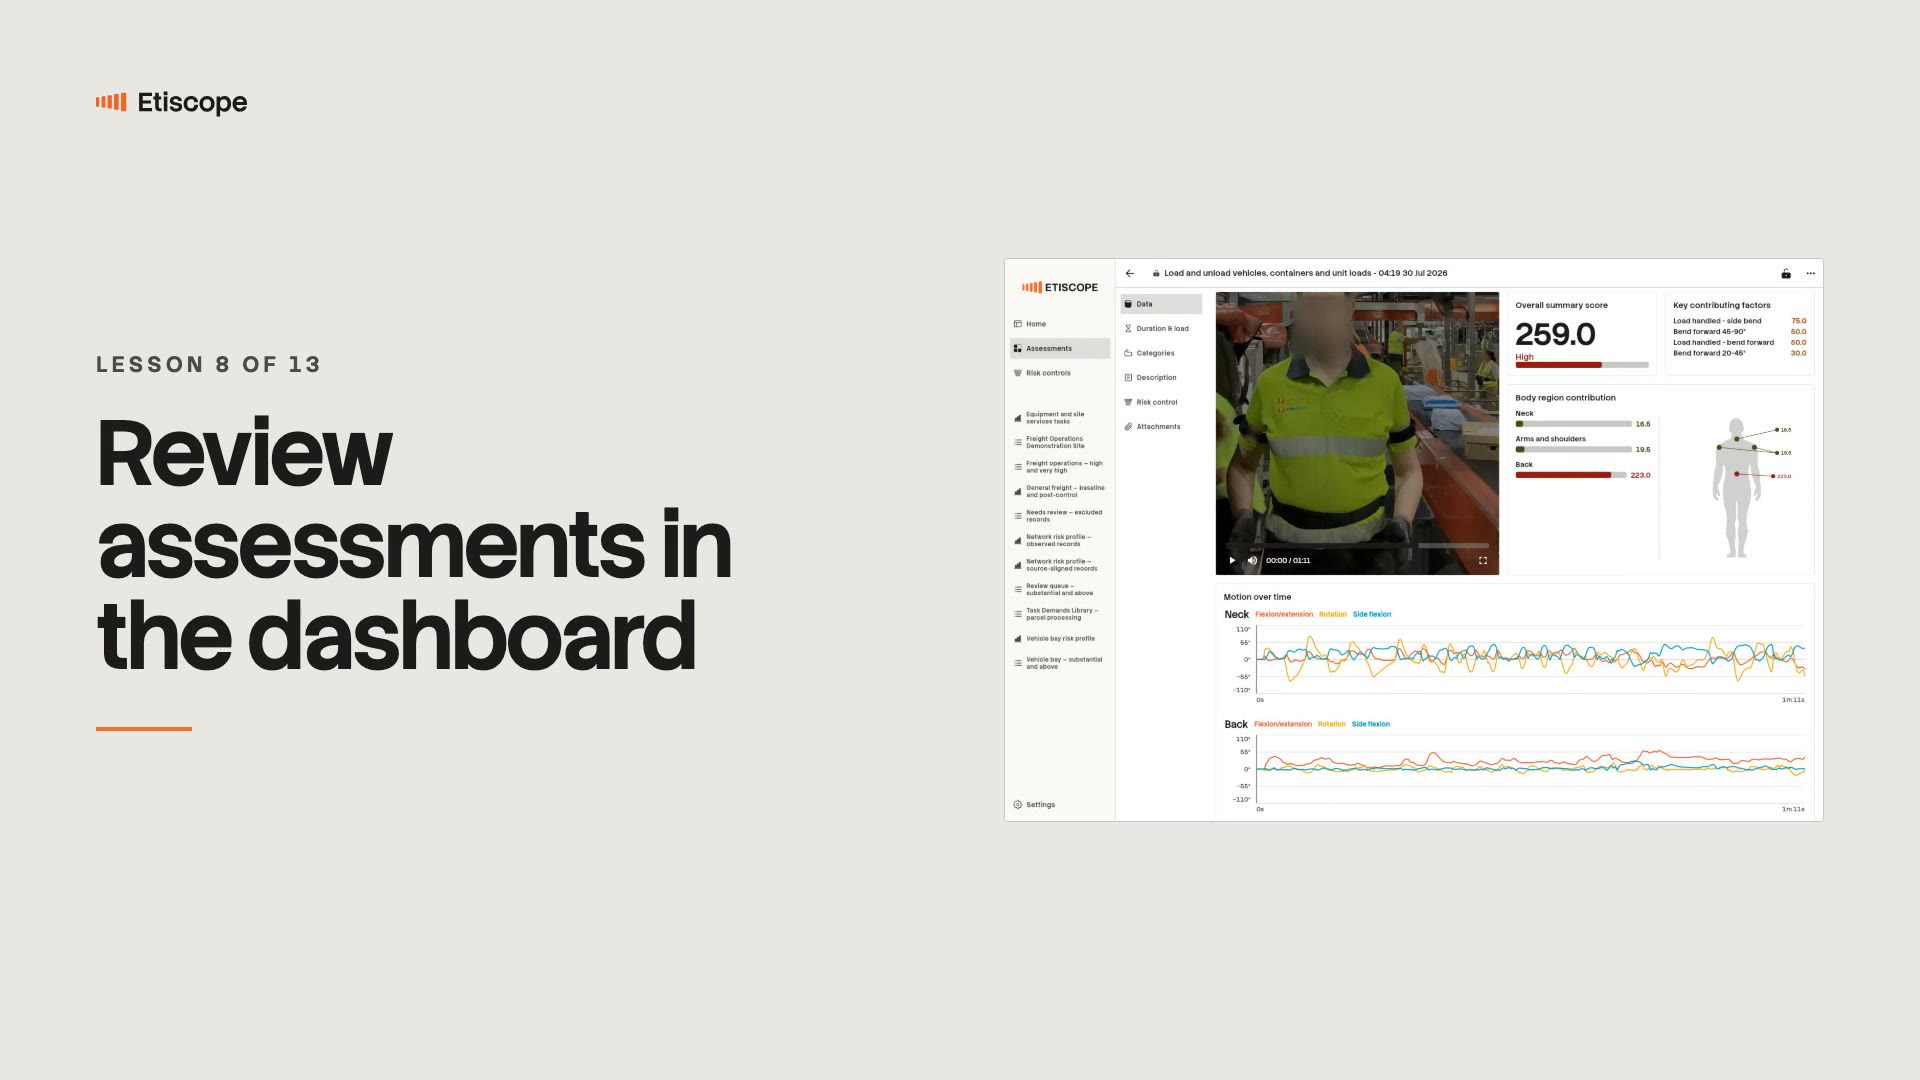
Review assessments in the dashboard
Find a record by its context, review the Data tab with its shared video and chart cursor, correct anything filed in the wrong place, attach supporting evidence, and lock the record once it's finished.
Lesson 8 →2 min video
Control
Choose where to act, and turn that choice into something with an owner and a date.
Decide
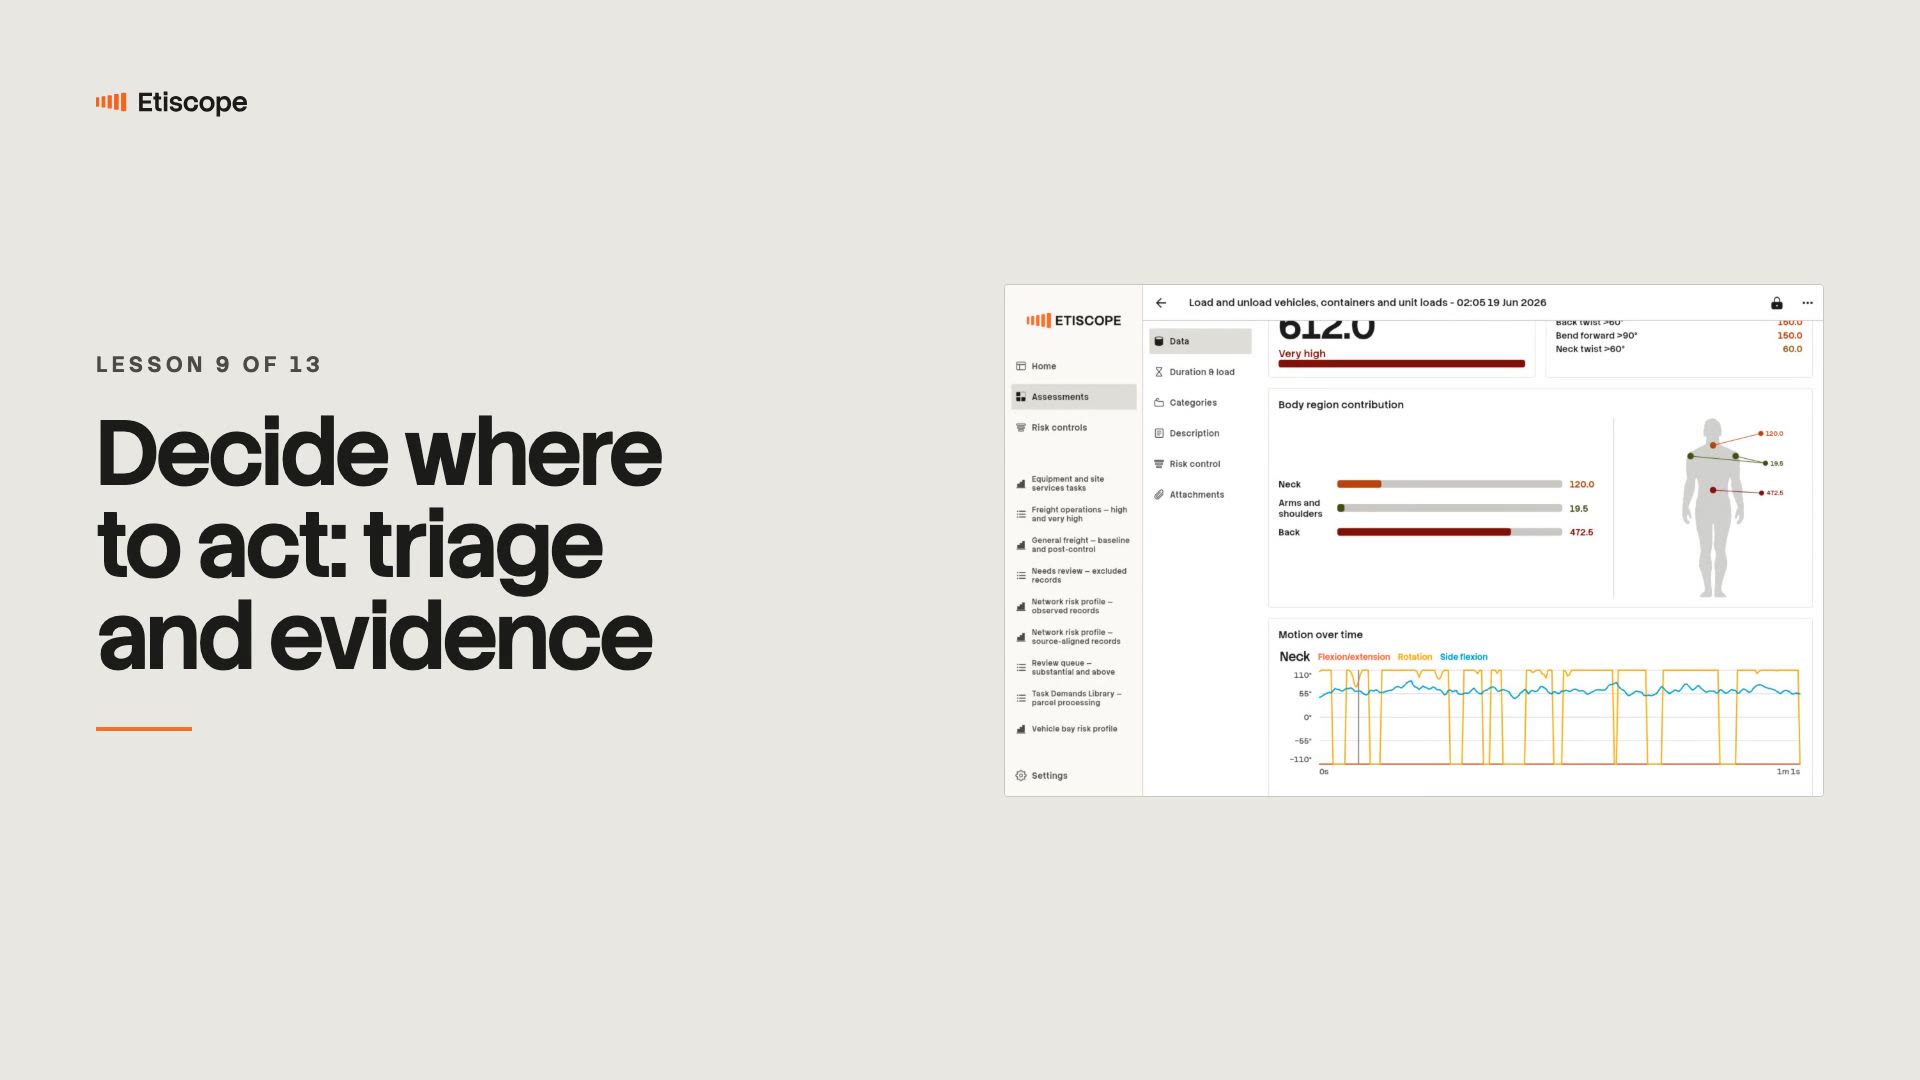
Decide where to act: triage and evidence
A running program produces more assessments than anyone can act on at once. Weigh the scores against people, frequency and severity, build a shortlist, and trace one candidate's score back to the movement behind it — that's what you'll take into the control conversation.
Lesson 9 →2 min video
Act
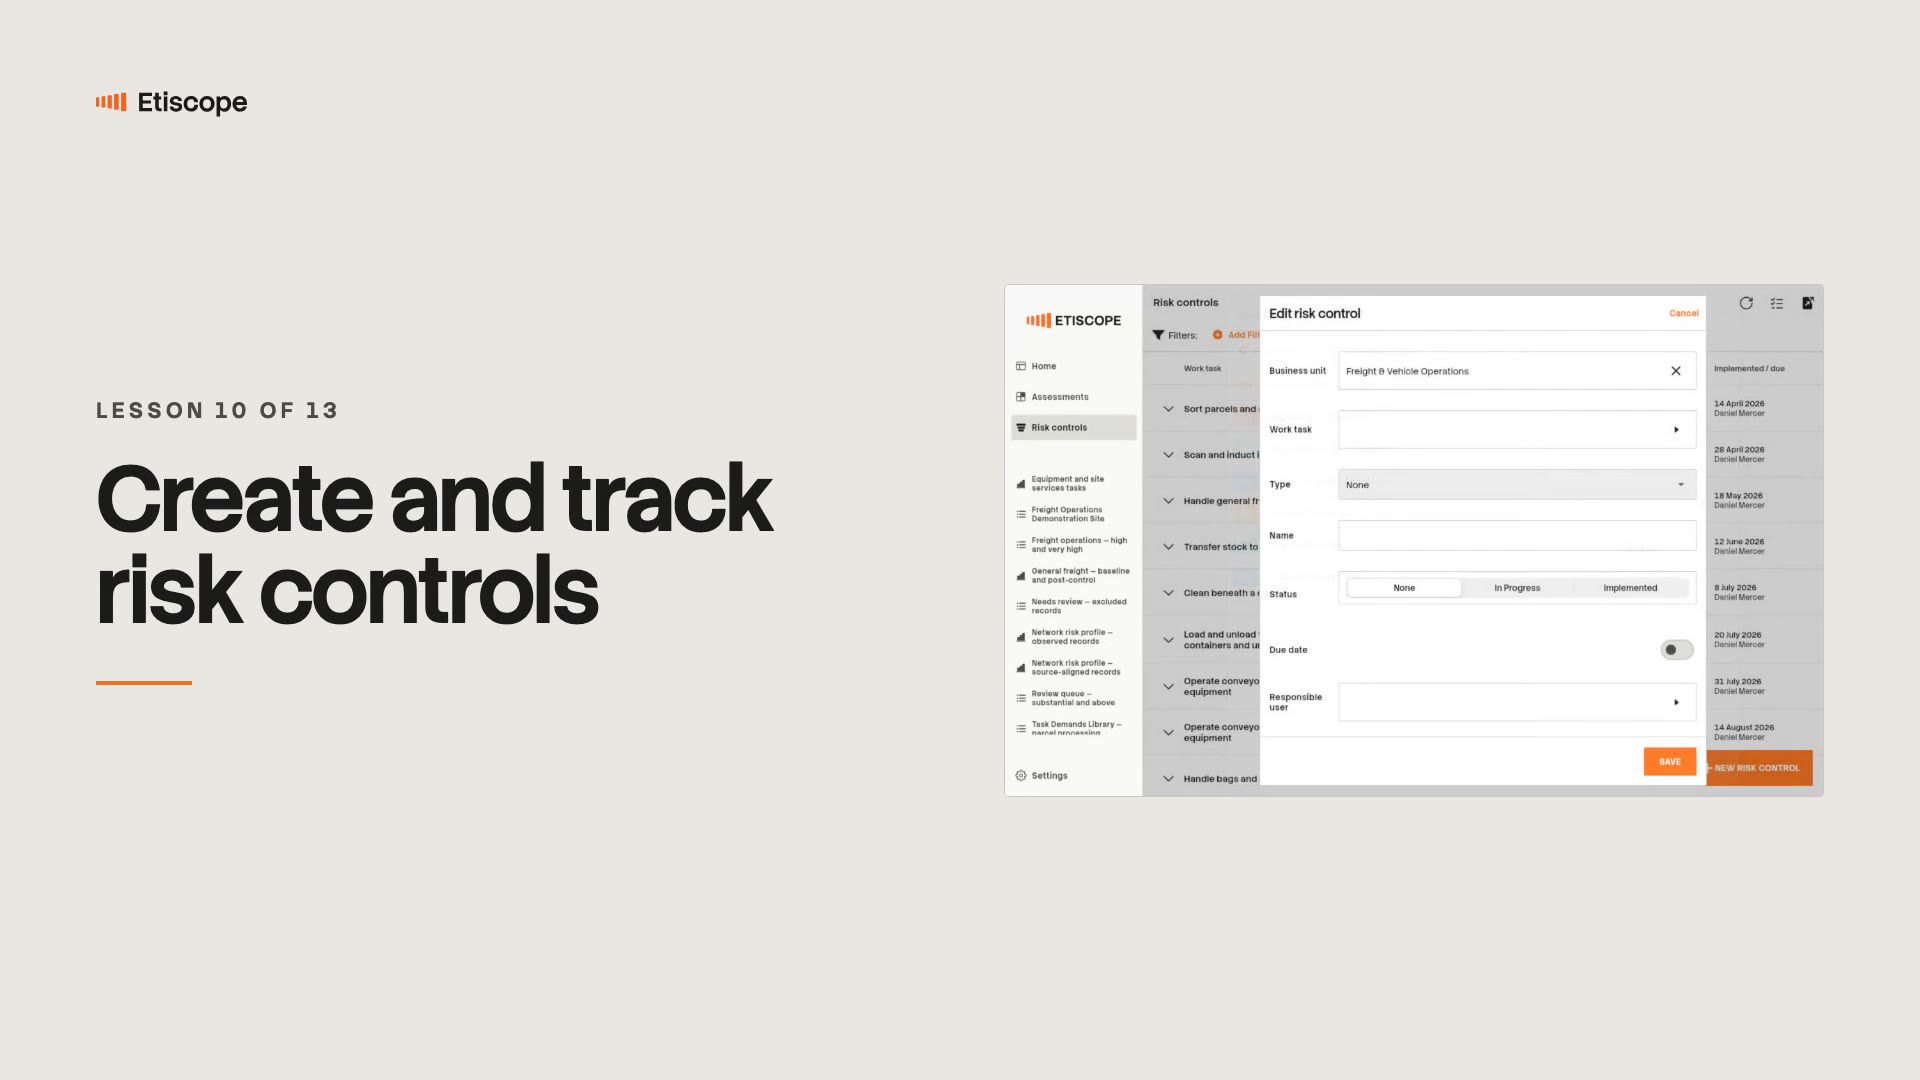
Create and track risk controls
Create the control from the built-in hierarchy, link it to the assessment behind it, and move it through its status lifecycle. If most of your list is administrative or PPE controls, that's a useful signal about the program rather than the tasks.
Lesson 10 →2 min video
Validate
Find out whether the change made a difference.
Validate
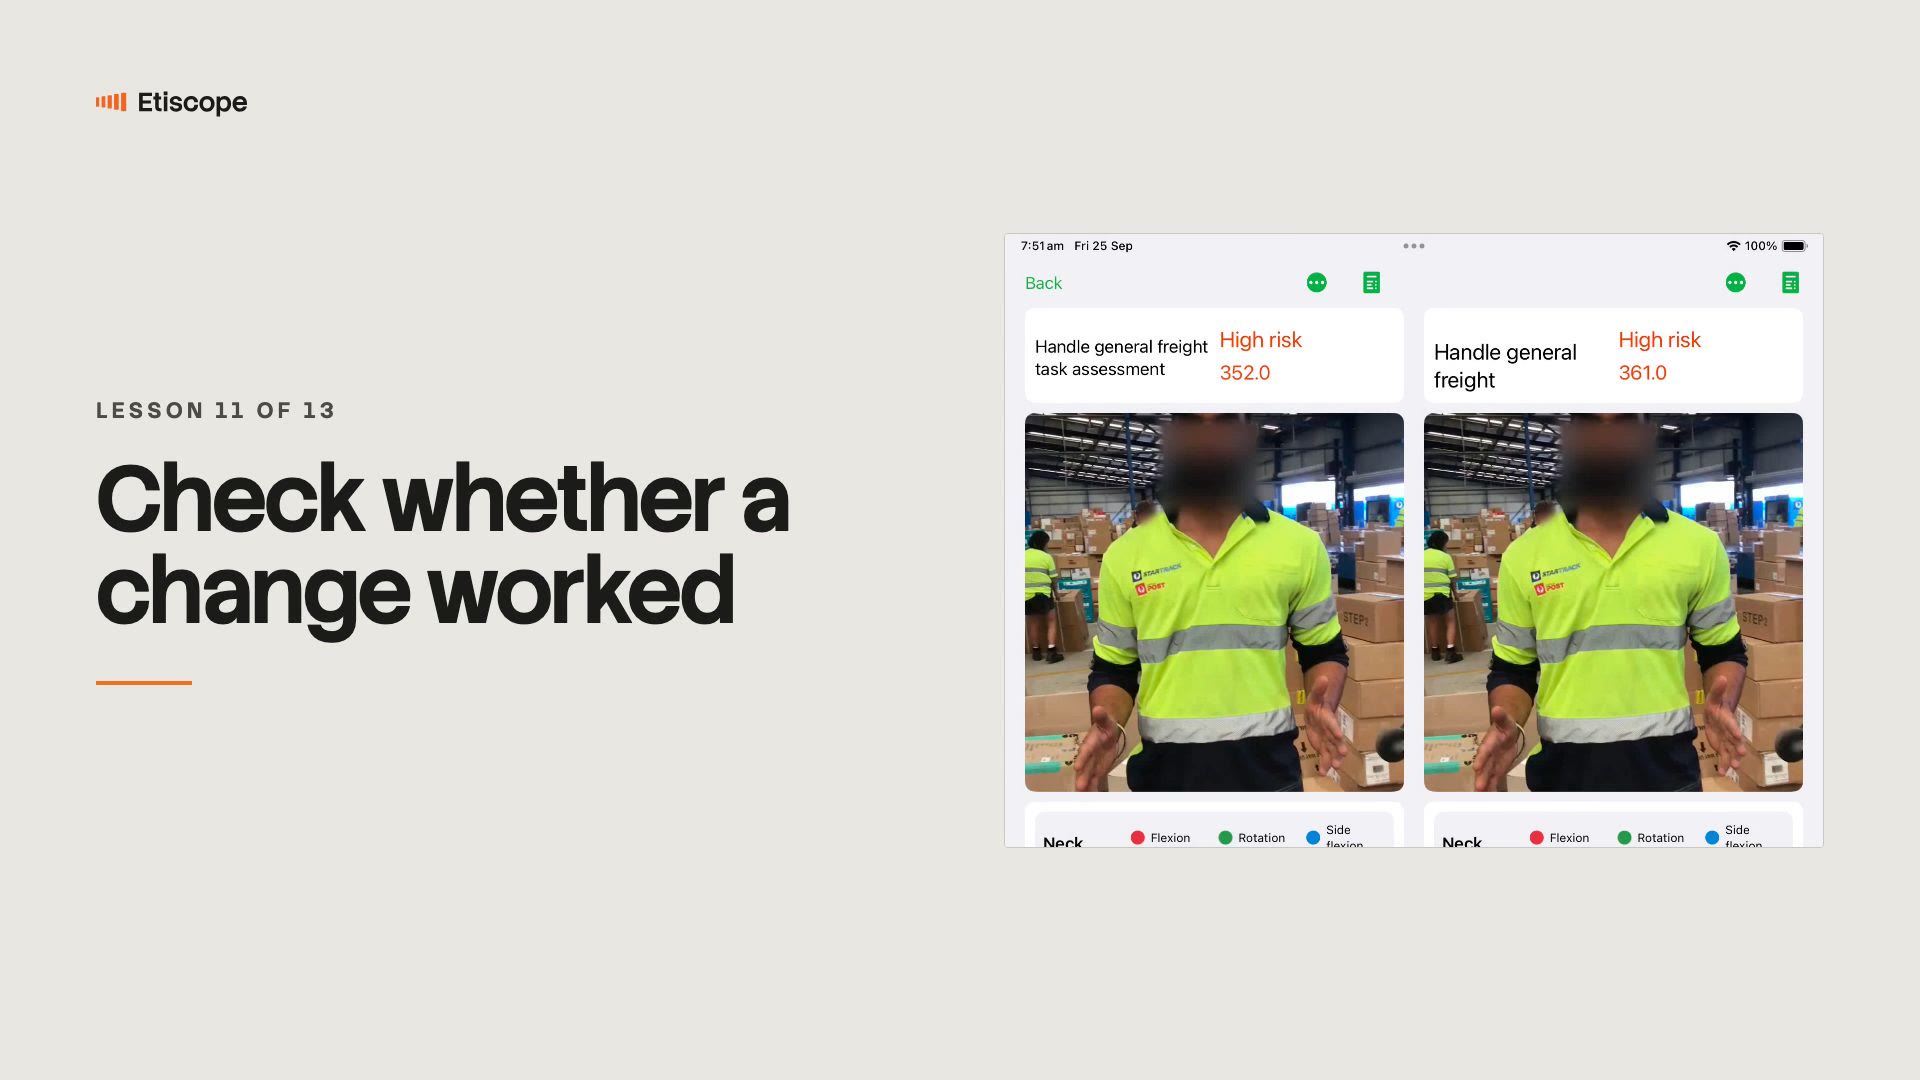
Check whether a change worked
Choose the right comparison — a re-assessment after the control, or what-if modelling — and read the risk control effectiveness chart. One thing to keep in mind: what-if modelling changes entered values on the same captured movement, so a change in how the work is done needs a new capture.
Lesson 11 →3 min video
Track
Your weekly rhythm, and keeping the record in good shape for when you need it.
Track
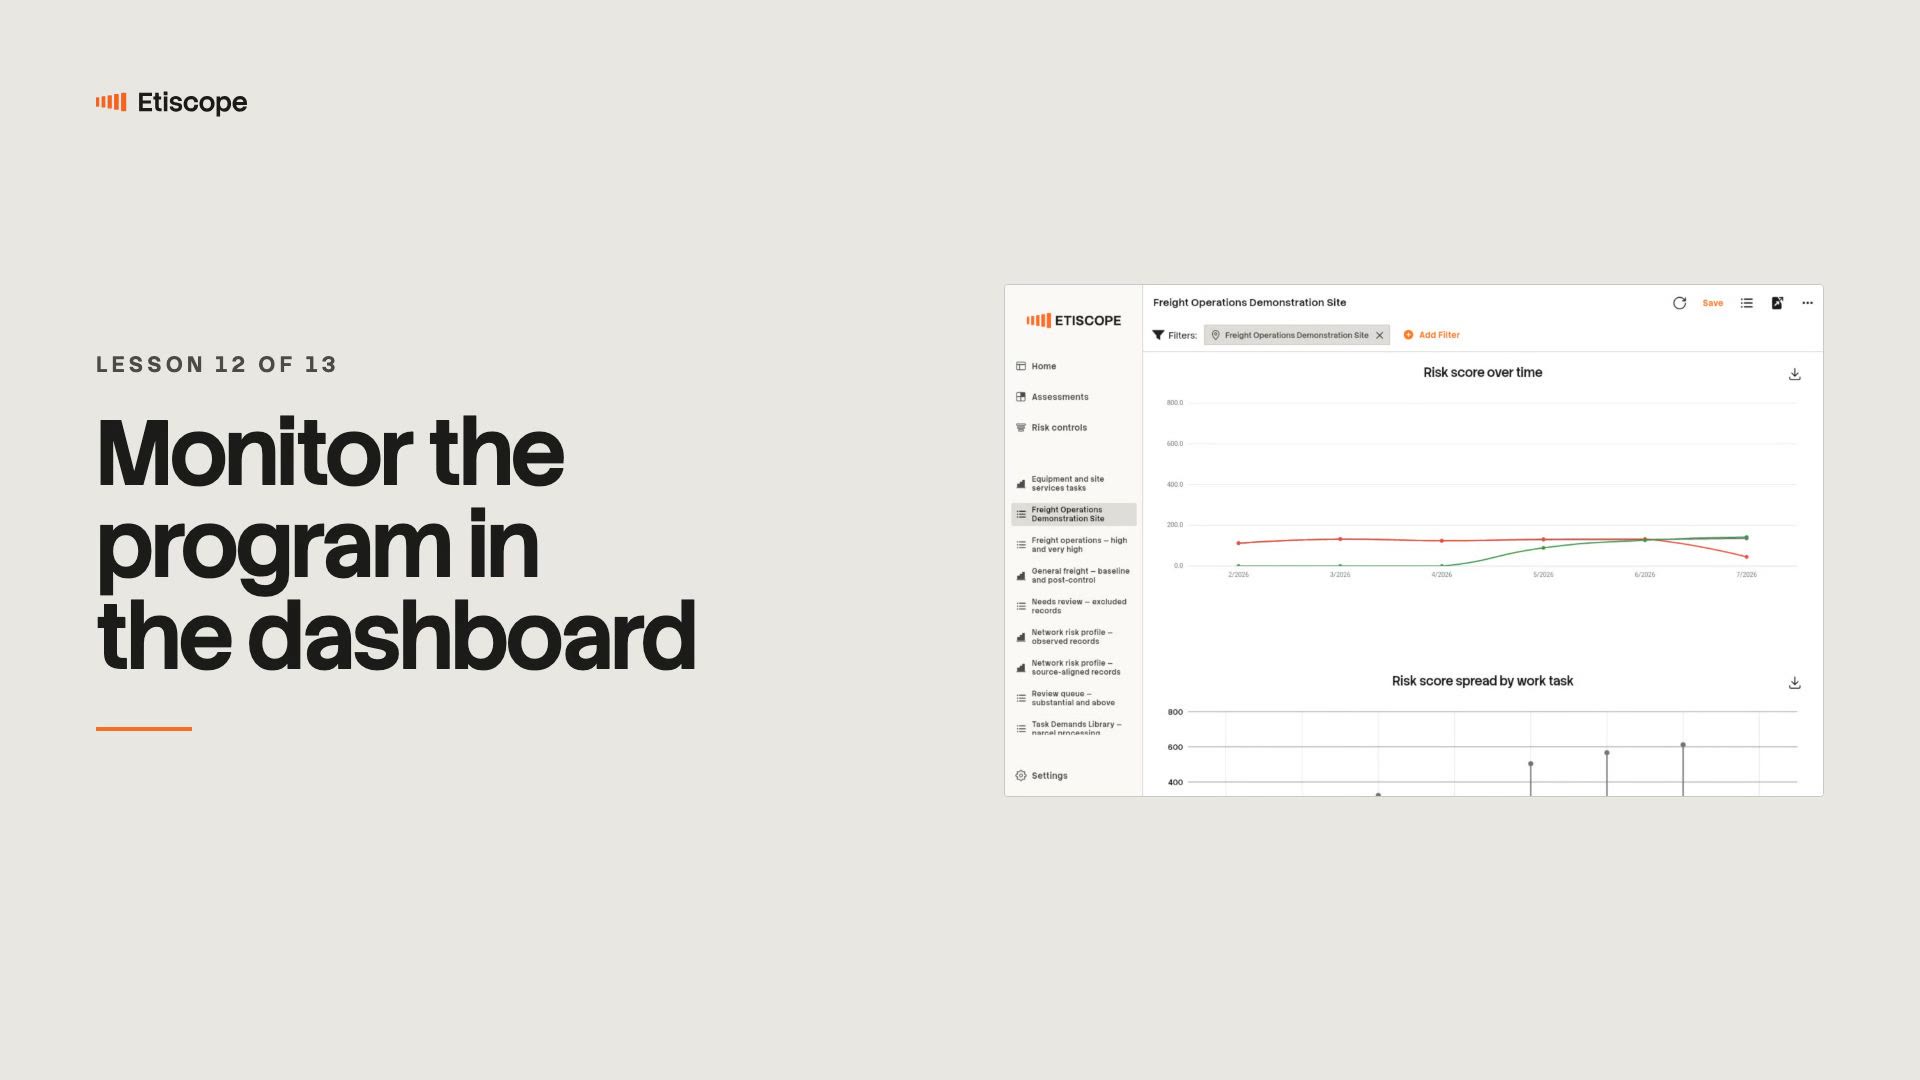
Monitor the program in the dashboard
Save the scope you care about once as a view, and it's ready whenever you come back. Use it to find the records that need someone's attention — that's where monitoring hands over to people.
Lesson 12 →3 min video
Hygiene
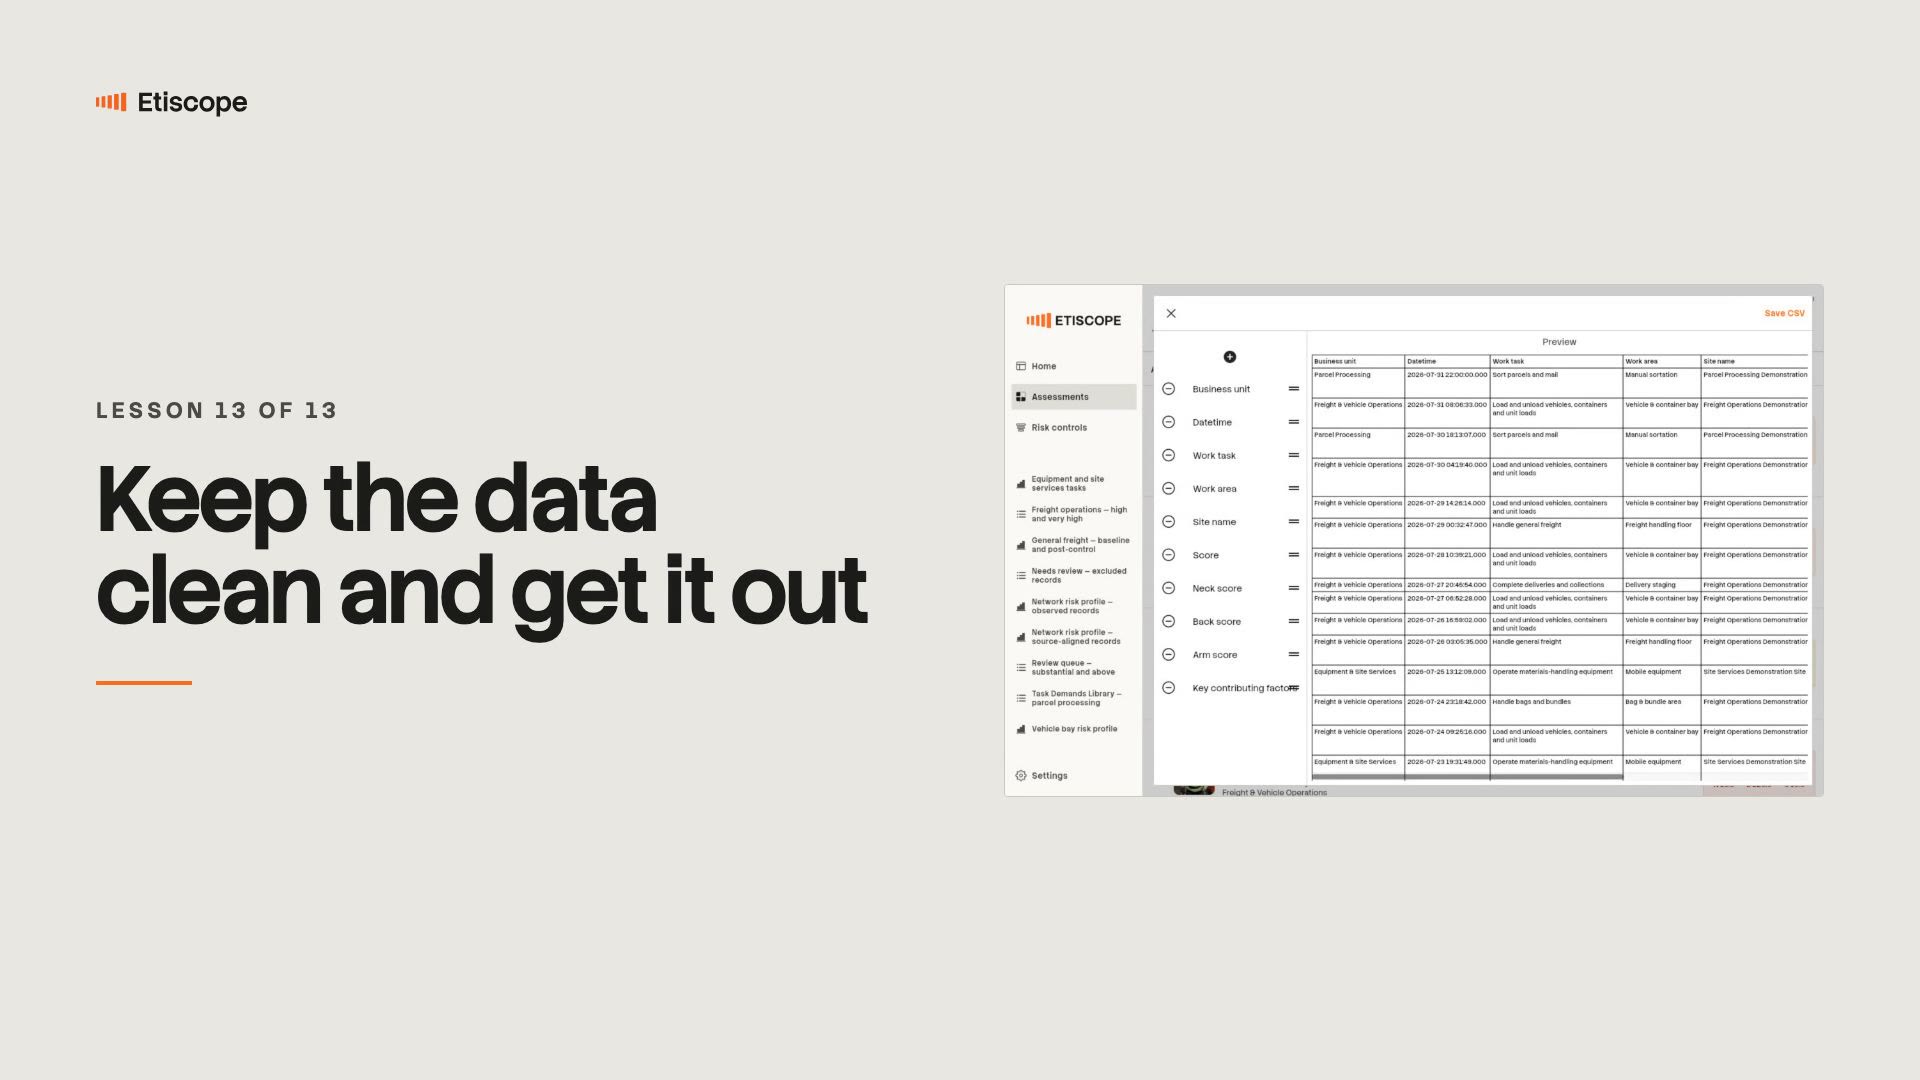
Keep the data clean and get it out
Correct a repeated filing error across many records in one go, export a scoped extract in the columns the receiving system expects, and archive superseded records rather than moving them to the trash.
Lesson 13 →3 min video